
Starostlivosť o kontaktné šošovky
Ste pripravený nosiť kontaktné šošovky?
Sme tu, aby sme vám pomohli.
Starostlivosť o kontaktné šošovky
Ste pripravený nosiť kontaktné šošovky?
Sme tu, aby sme vám pomohli.
Tipy pre kontaktné šošovky
Tu sú naše najlepšie tipy na starostlivosť o kontaktné šošovky, ktoré vám pomôžu začať a obľúbiť si vaše nové kontaktné šošovky PRECISION™. Zvládnete to!
Tri veci, ktoré si treba zapamätať
Začnite deň s kontaktnými šošovkami. Zaraďte ich do svojej rannej rutiny. Čím pravidelnejšie ich nosíte, tým prirodzenejšie a pohodlnejšie sa pre vás každý deň stávajú..
Majte po ruke náhradný pár kontaktných šošoviek, kým si na ich nosenie úplne zvyknete. Nikdy neviete, čo sa môže prihodiť.
Zdajú sa vám kontaktné šošovky nepohodlné? Neváhajte sa obrátiť na svojho očného špecialistu.
Jednodňové kontaktné šošovky
S jednodňovými kontaktnými šošovkami odpadá starostlivosť o ich čistenie. Ráno si nasadíte nový pár, večer ho jednoducho vyhodíte – a ďalší deň začnete opäť sviežo.
Nasledovať budú pokyny, podobné tým nižšie, ako si správne nasadiť kontaktné šošovky.
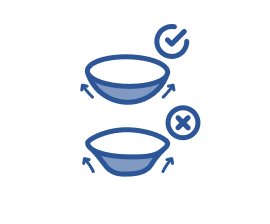
Týždňové kontaktné šošovky
Týždňové kontaktné šošovky je potrebné každý večer pred spaním pravidelne čistiť, dezinfikovať a uložiť do roztoku na kontaktné šošovky.
Každý týždeň ich vymeňte za nový pár – alebo podľa odporúčania vášho očného špecialistu.
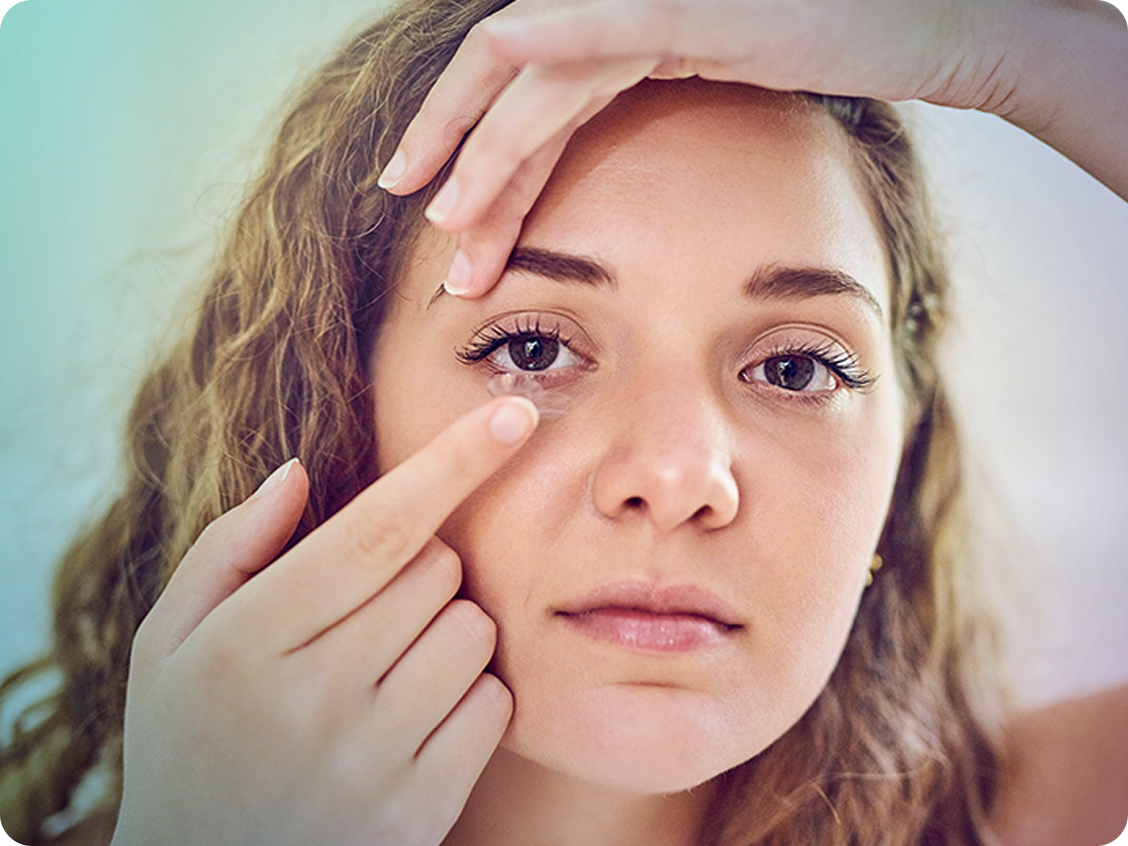
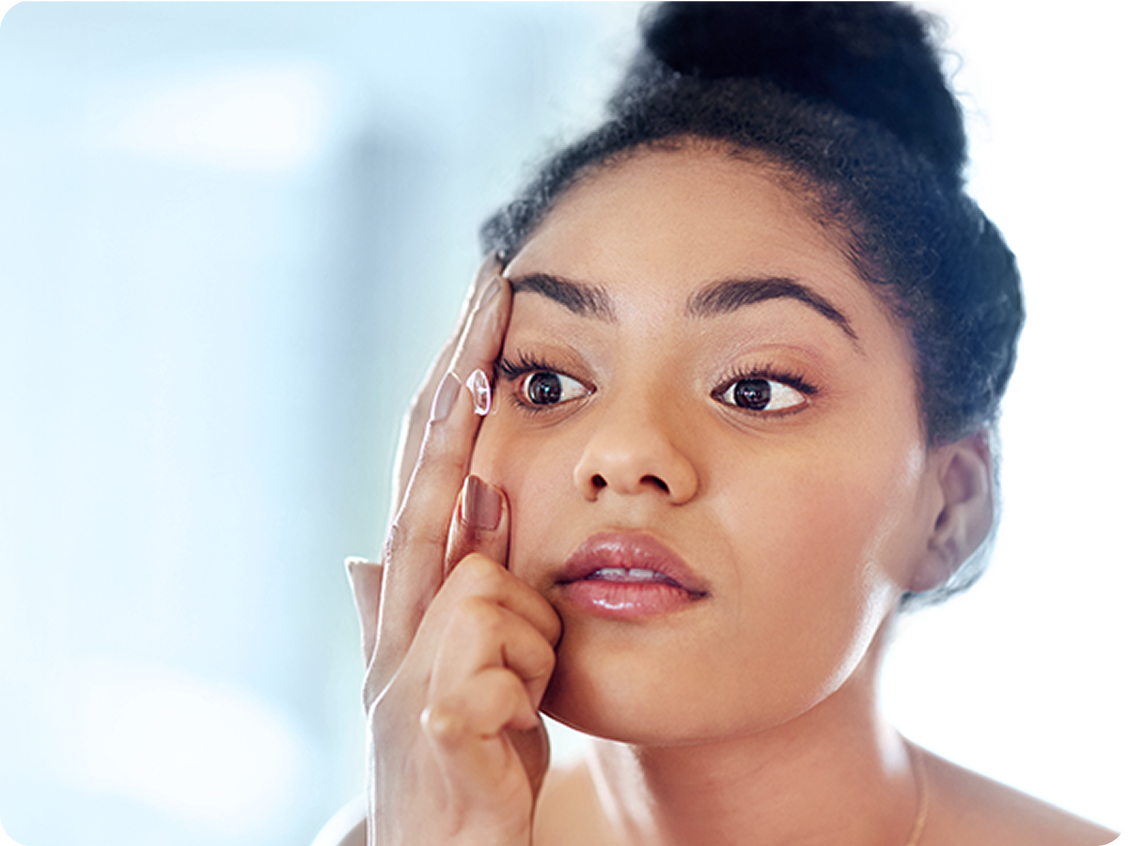
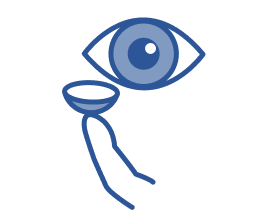
Ako si nasadiť kontaktnú šošovku do oka

Krok 1
Umyte, opláchnite a dôkladne si osušte ruky.
Krok 2
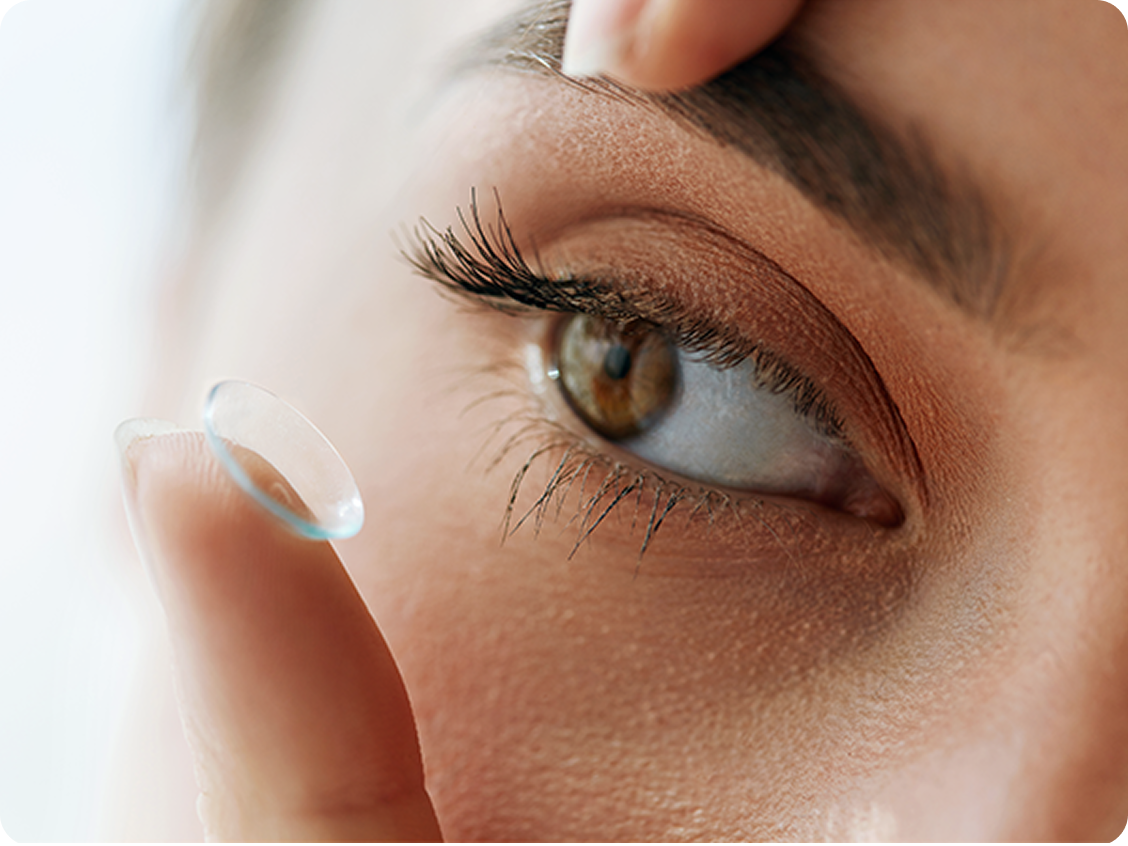
Umiestnite šošovku na špičku ukazováka.
Krok 3
Ak sú okraje šošovky ohnuté smerom von ako zvonček, je šošovka obrátená naopak.
Krok 4
Pomaly priblížte šošovku k oku.

Krok 5
Prostredníkom jednej ruky si vytiahnite horné viečko nahor, druhou rukou stiahnite dolné viečko nadol.

Krok 6
Jemne položte šošovku na oko.
Krok 7
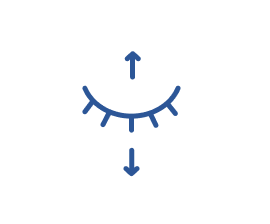
Niekoľkokrát zažmurkajte, aby sa šošovka správne usadila.
Krok 8
Hotovo!
Ako si vybrať kontaktnú šošovku z oka
Krok 1
Umyte, opláchnite a dôkladne si osušte ruky.

Krok 2
Prostredníkom jednej ruky si vytiahnite horné viečko nahor, druhou rukou stiahnite dolné viečko nadol.
Krok 3
Ukazovákom stiahnite šošovku na spodnú časť oka.

Krok 4
Jemne uchopte šošovku medzi prsty a vyberte ju z oka.
Rovnaký postup zopakujte aj pri druhom oku.
Starostlivosť o týždňové kontaktné šošovky
Umyte a osušte si ruky
Začnite tým, že si dôkladne umyjete a osušíte ruky, aby ste zabránili prenosu nečistôt alebo mastnoty na šošovky.
Vyberte šošovky z očí
Každú kontaktnú šošovku opatrne vyberte z oka a položte si ju do dlane.
Navlhčite šošovky
Na každú šošovku kvapnite niekoľko kvapiek roztoku na kontaktné šošovky. Jemne ju pretrite bruškom prsta, aby ste odstránili všetky nečistoty – riaďte sa pokynmi k použitiu roztoku.
Opláchnite šošovky
Každú šošovku opláchnite čerstvým roztokom, aby ste odstránili zvyšky nečistôt alebo častíc.
Uložte do čistého puzdra
Každú šošovku vložte do príslušnej priehradky čistého puzdra na kontaktné šošovky. Priehradky naplňte čerstvým roztokom tak, aby boli šošovky úplne ponorené.
Vymeňte každý týždeň
Po 7 dňoch nosenia súčasné šošovky vyhoďte a nahraďte ich novým párom – alebo sa riaďte odporúčaním svojho očného špecialistu.
Pozrite si video

Prosím, pozrite sa do návodu na použitie týkajúceho sa nosenia, starostlivosti, bezpečnostných opatrení, varovaní, kontraindikácií a nežiaducich účinkov.
Kontaktné šošovky – zdravotnícke pomôcky na korekciu refrakčných chýb.
Dôležité informácie o produkte nájdete na stránke ifu.alcon.com.